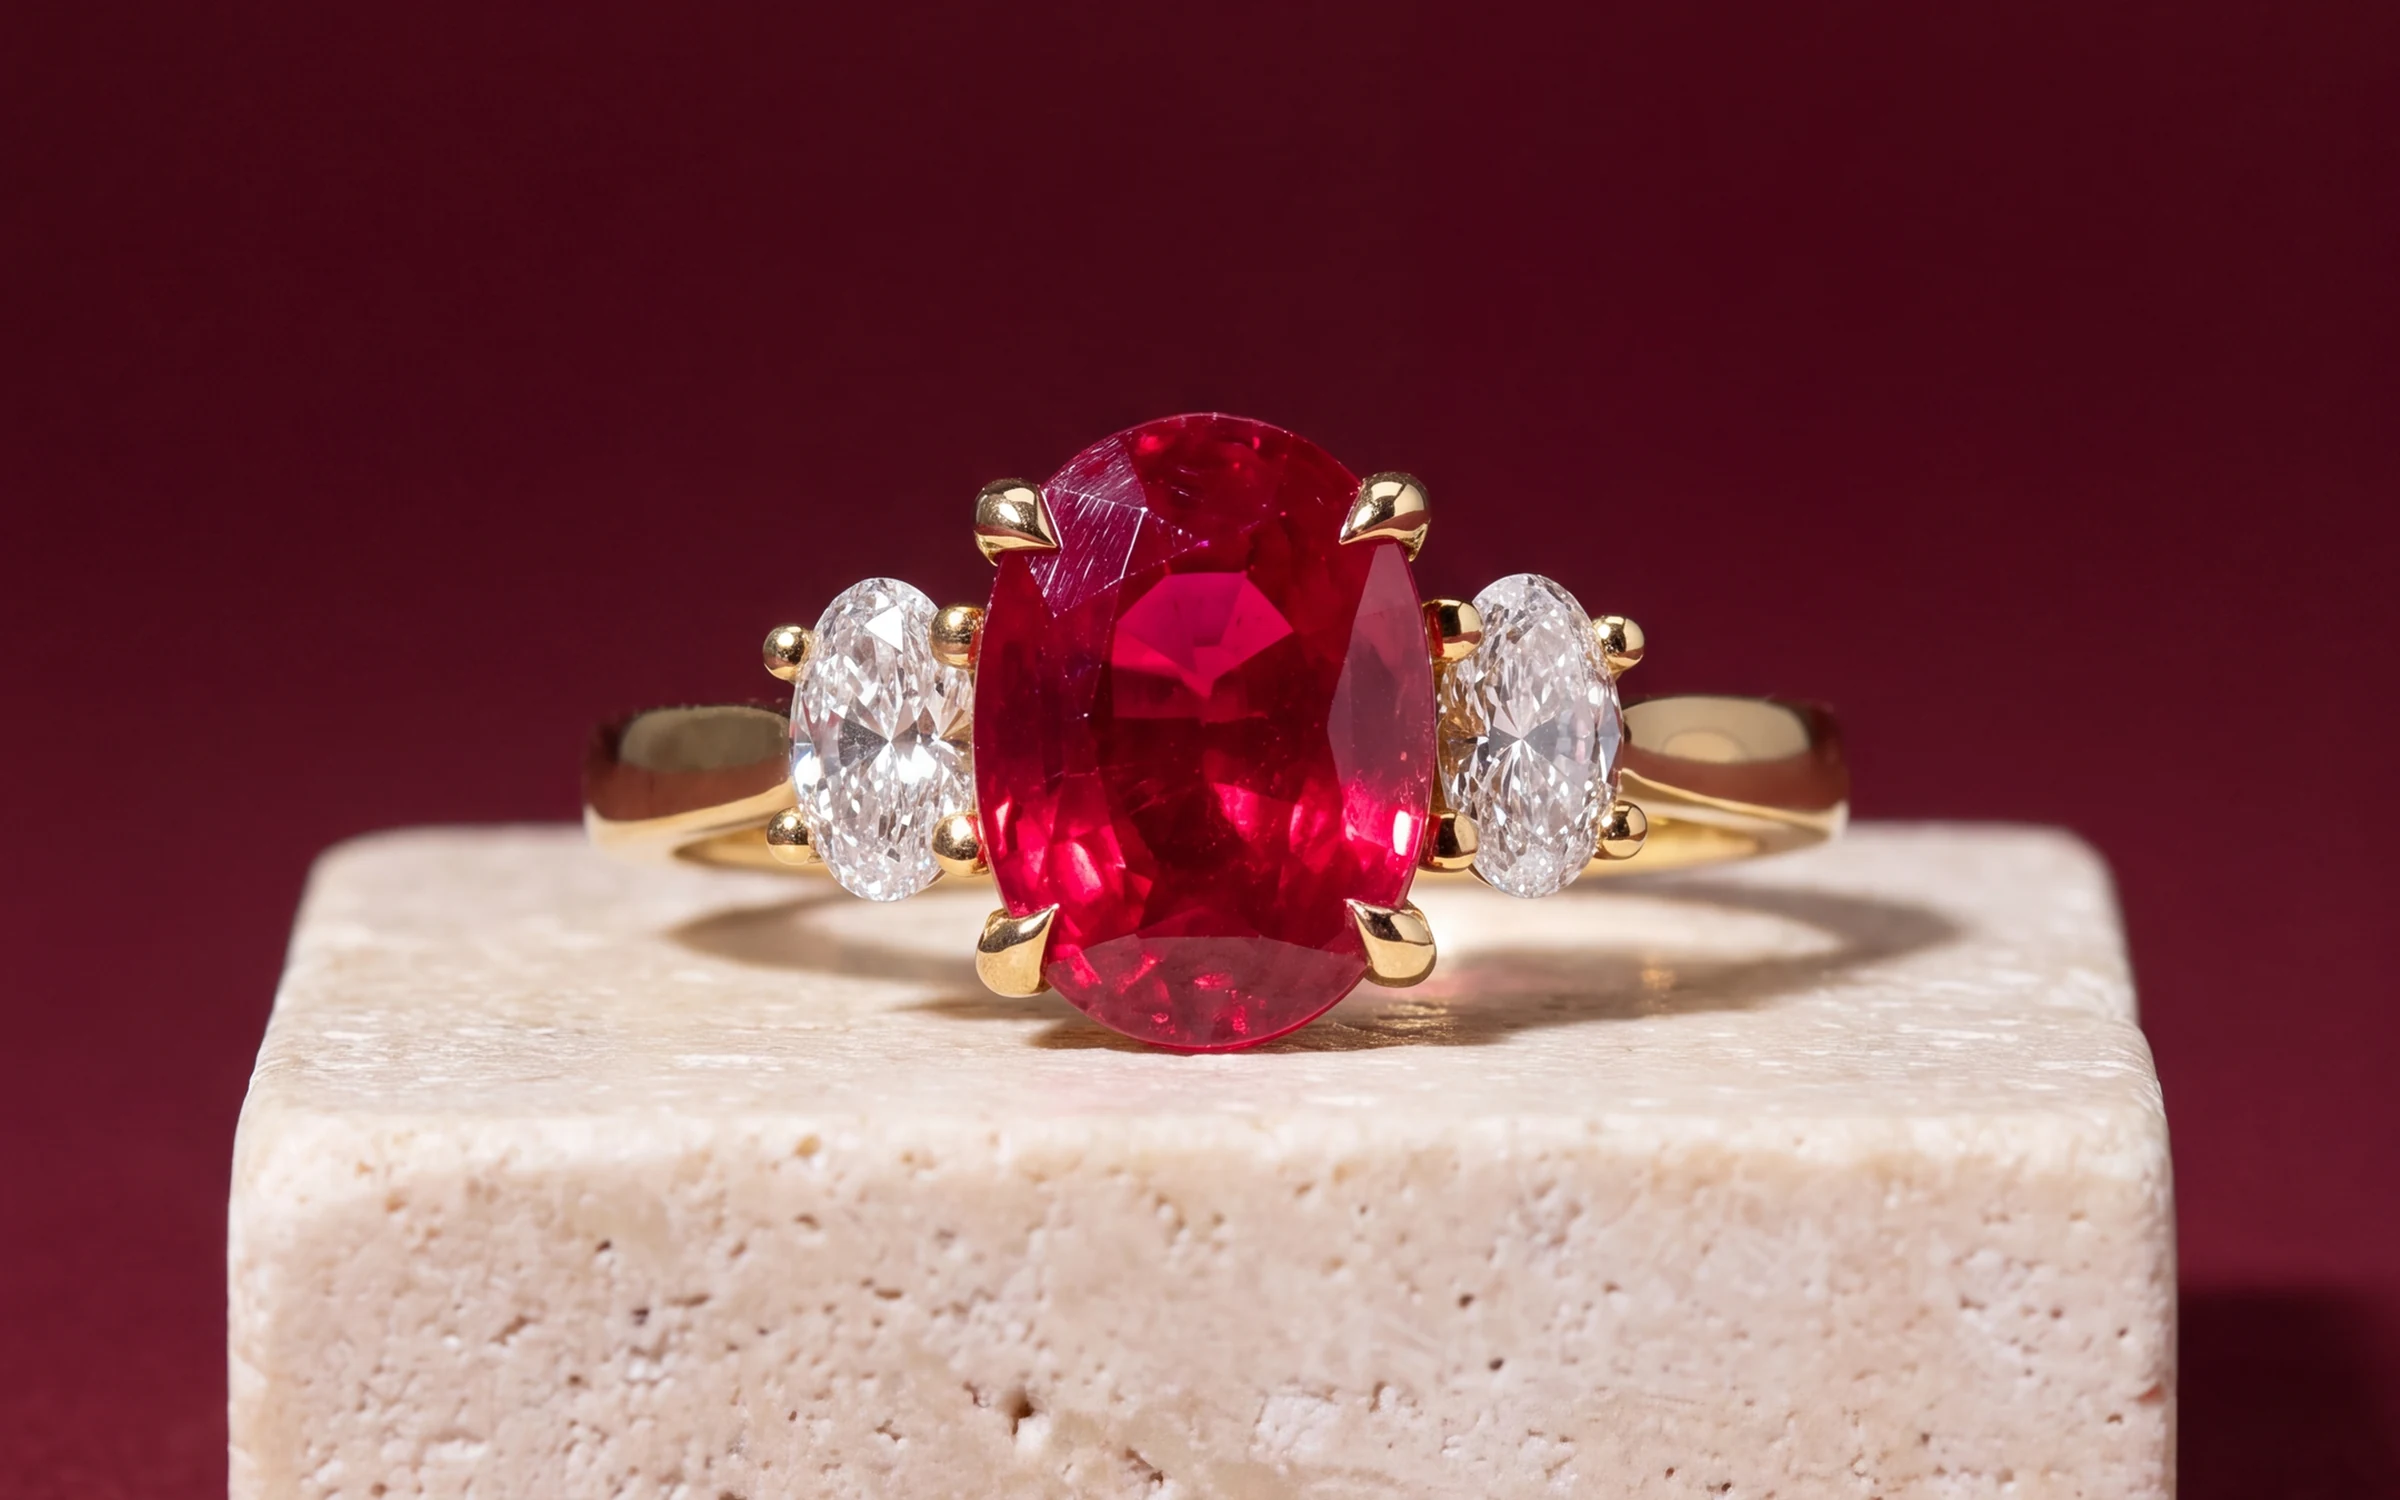
Most jewelry photos on the internet were taken on a phone at a desk or a kitchen table. That is fine. A phone can take a sharp, honest photo of a ring. The problem is usually not the camera. It is the light, the background, the focus and the color, in that order. Fix those four and your phone photos will beat most of what you see on Etsy, eBay and a lot of store websites.
This is the method we use at our store when new pieces come in and a photographer is not an option. It takes about two minutes per piece once it is set up.
Set up once: light and background
Find a window with daylight but no direct sun on the surface. Put a small table next to it. Turn the room lights off, because mixing daylight with warm bulbs is what turns white gold yellow and makes diamonds look grey.
- Put the piece about a foot from the window, with the window to one side rather than behind you. Light from a 45 degree angle shows the facets and the shape of the metal.
- On the far side of the piece, stand a sheet of white foam board or a piece of white paper. It bounces light back into the shadow side so the piece does not go dark on one edge.
- Use a plain, matte background. White foam board if you sell on a marketplace that wants white. A light grey card if you want metal and diamonds to read clearly. Matte, not glossy, so the surface does not reflect the window.
- Clean the piece first. Breath, a microfiber cloth and a soft brush for the gallery under the stone. Fingerprints and dust are the first thing a zoomed-in photo shows.
If the window light is too flat on a grey day, a single daylight LED lamp through a sheet of tracing paper does the same job. Keep it to one light. Two lights from different directions give you two sets of reflections in every stone.
Phone settings that matter
- Use the normal photo mode, not portrait mode. Portrait mode blurs prongs and chain links because it guesses the edges of the piece.
- Wipe the lens. Phone lenses live in pockets and the smear softens everything.
- Tap on the stone to focus, then hold your finger down to lock focus and exposure. On iPhone this shows AE/AF LOCK. Slide the small sun icon down a touch so the metal does not blow out.
- Get close enough that the piece fills most of the frame, but do not use digital zoom past 2x. If your phone has a dedicated 2x or 3x lens, use that, because it also gives a more natural perspective than the wide lens up close.
- Shoot at the highest quality your phone allows. You can always make a file smaller. You cannot add detail back.
- Hold the phone steady, elbows on the table, or use a small tripod and the timer. Camera shake is the main reason phone photos look soft at zoom.
Get the color right
Color is where phone jewelry photos fail most often, and it is the mistake customers notice. A yellow cast on white gold, a blue cast on yellow gold, a sapphire that looks purple. Three habits fix most of it:
- Shoot only in daylight with the room lights off, as above.
- Put something you know is neutral in the first test shot, such as a piece of white paper, and check that it looks white on screen. If it is warm or cool, move the piece or change the lamp.
- Compare the photo to the piece in your hand before you upload. If the photo is wrong, fix it in the phone's editor with the warmth slider, in small steps, and stop as soon as the metal matches.
Never leave a color cast and hope the customer will not notice. For a store, a wrong-metal photo is a return waiting to happen. For a marketplace seller, it is a bad review.
What to shoot for each kind of piece
A good listing has four to six photos. Shoot them all in the same session so the light matches.
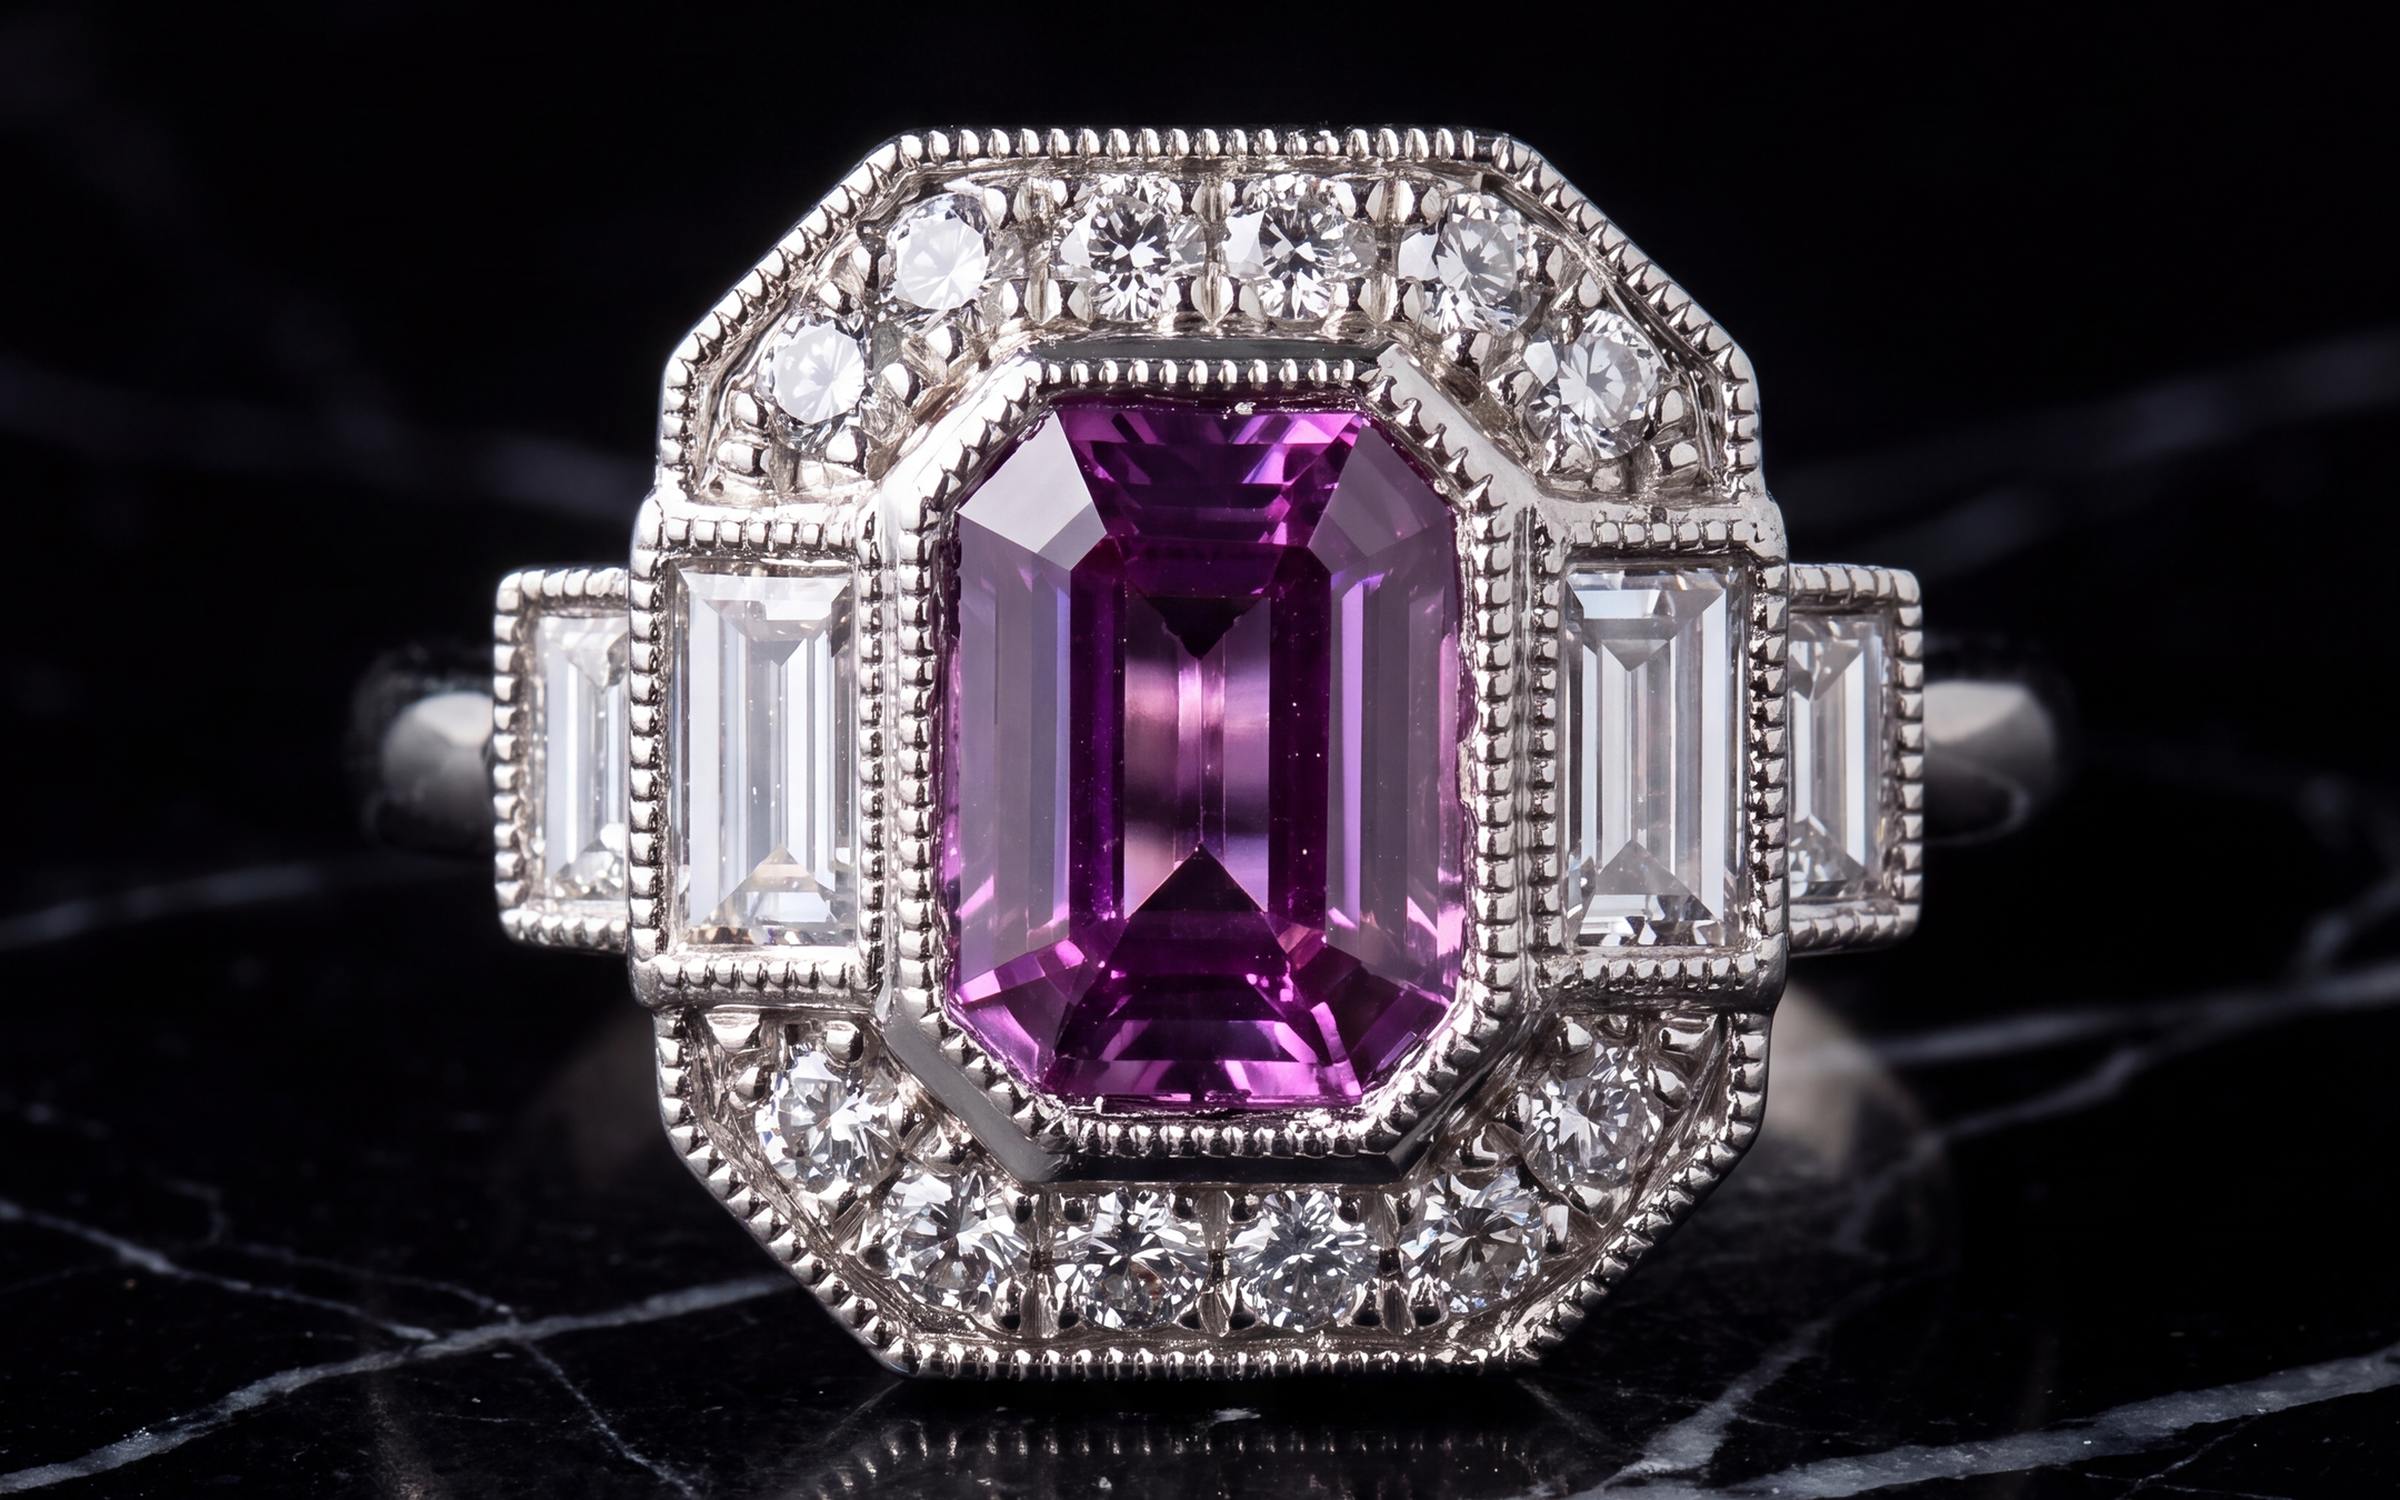
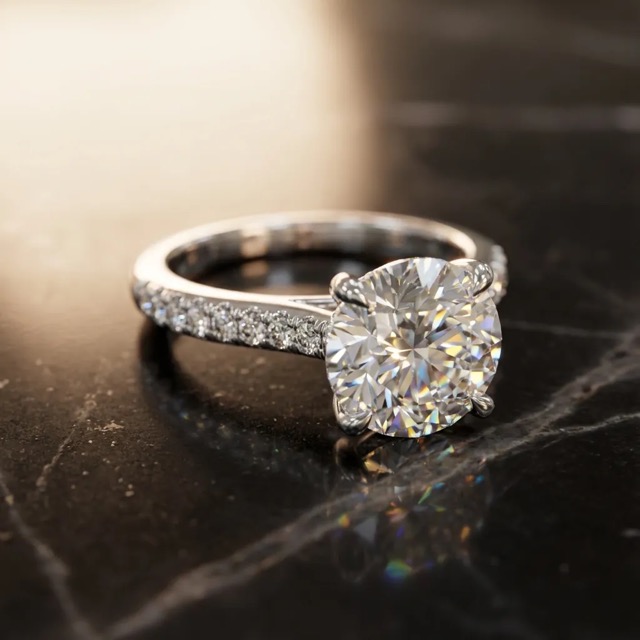
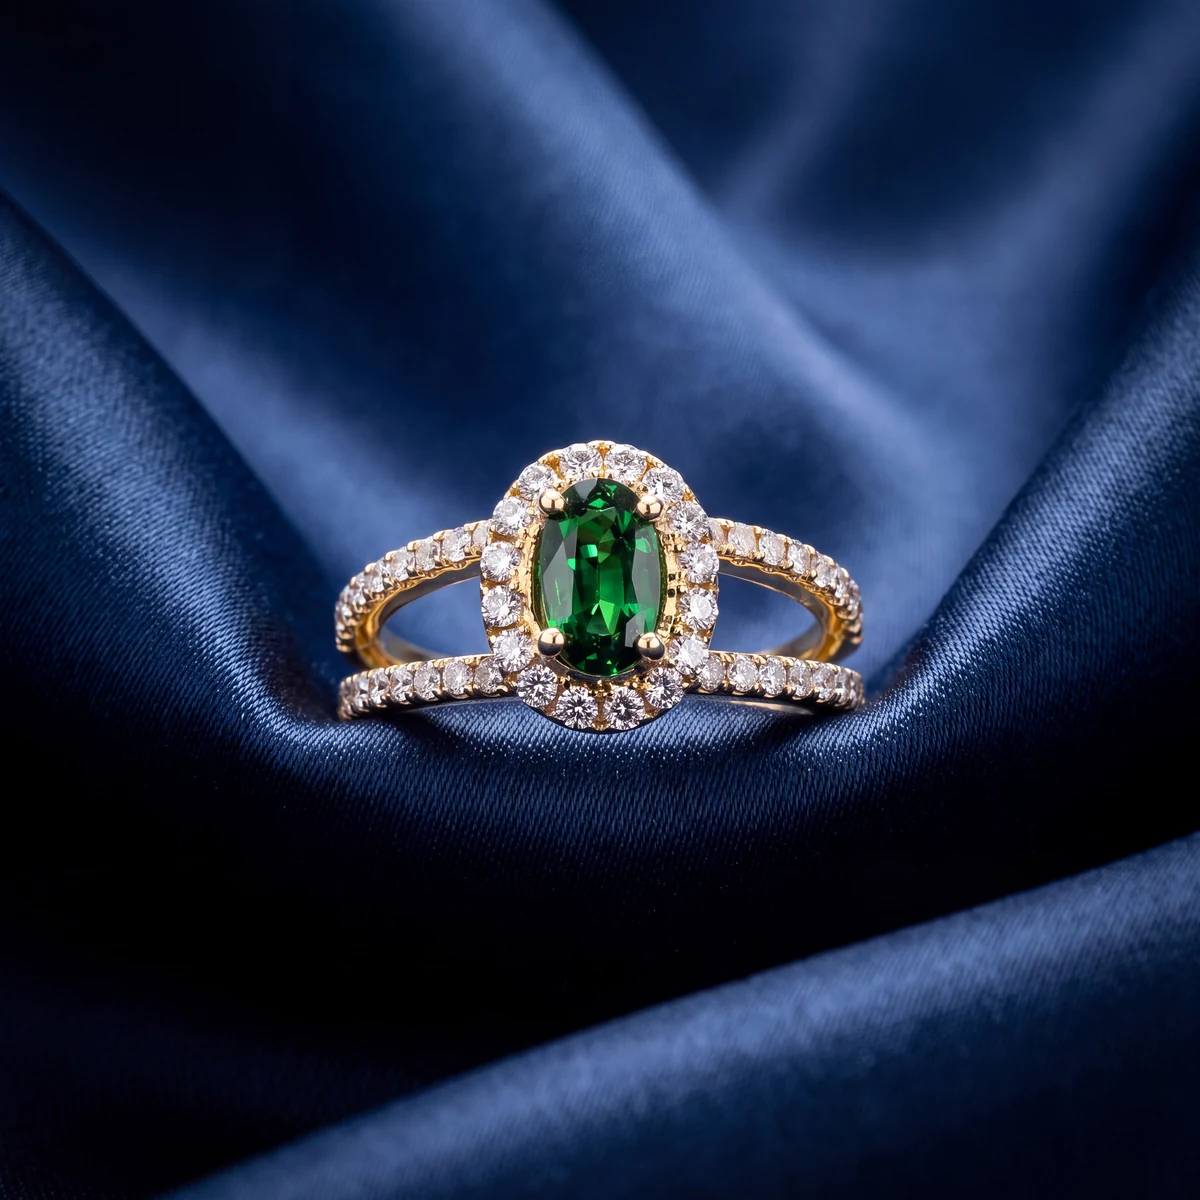
- Rings: a straight-on front view at eye level, a three-quarter view from slightly above, a side profile that shows the setting height, and a close-up of the center stone. Prop the ring upright with a small dab of museum putty on the back of the shank, out of sight.
- Earrings: the pair together, front on, hanging from a thin thread or standing against the backdrop, then one earring close. Always photograph both earrings. A single earring in the main photo reads as a single earring for sale.
- Necklaces and pendants: the pendant close and sharp with a little chain visible, then the whole necklace laid in a soft curve, then the clasp. Lay the chain so it does not kink.
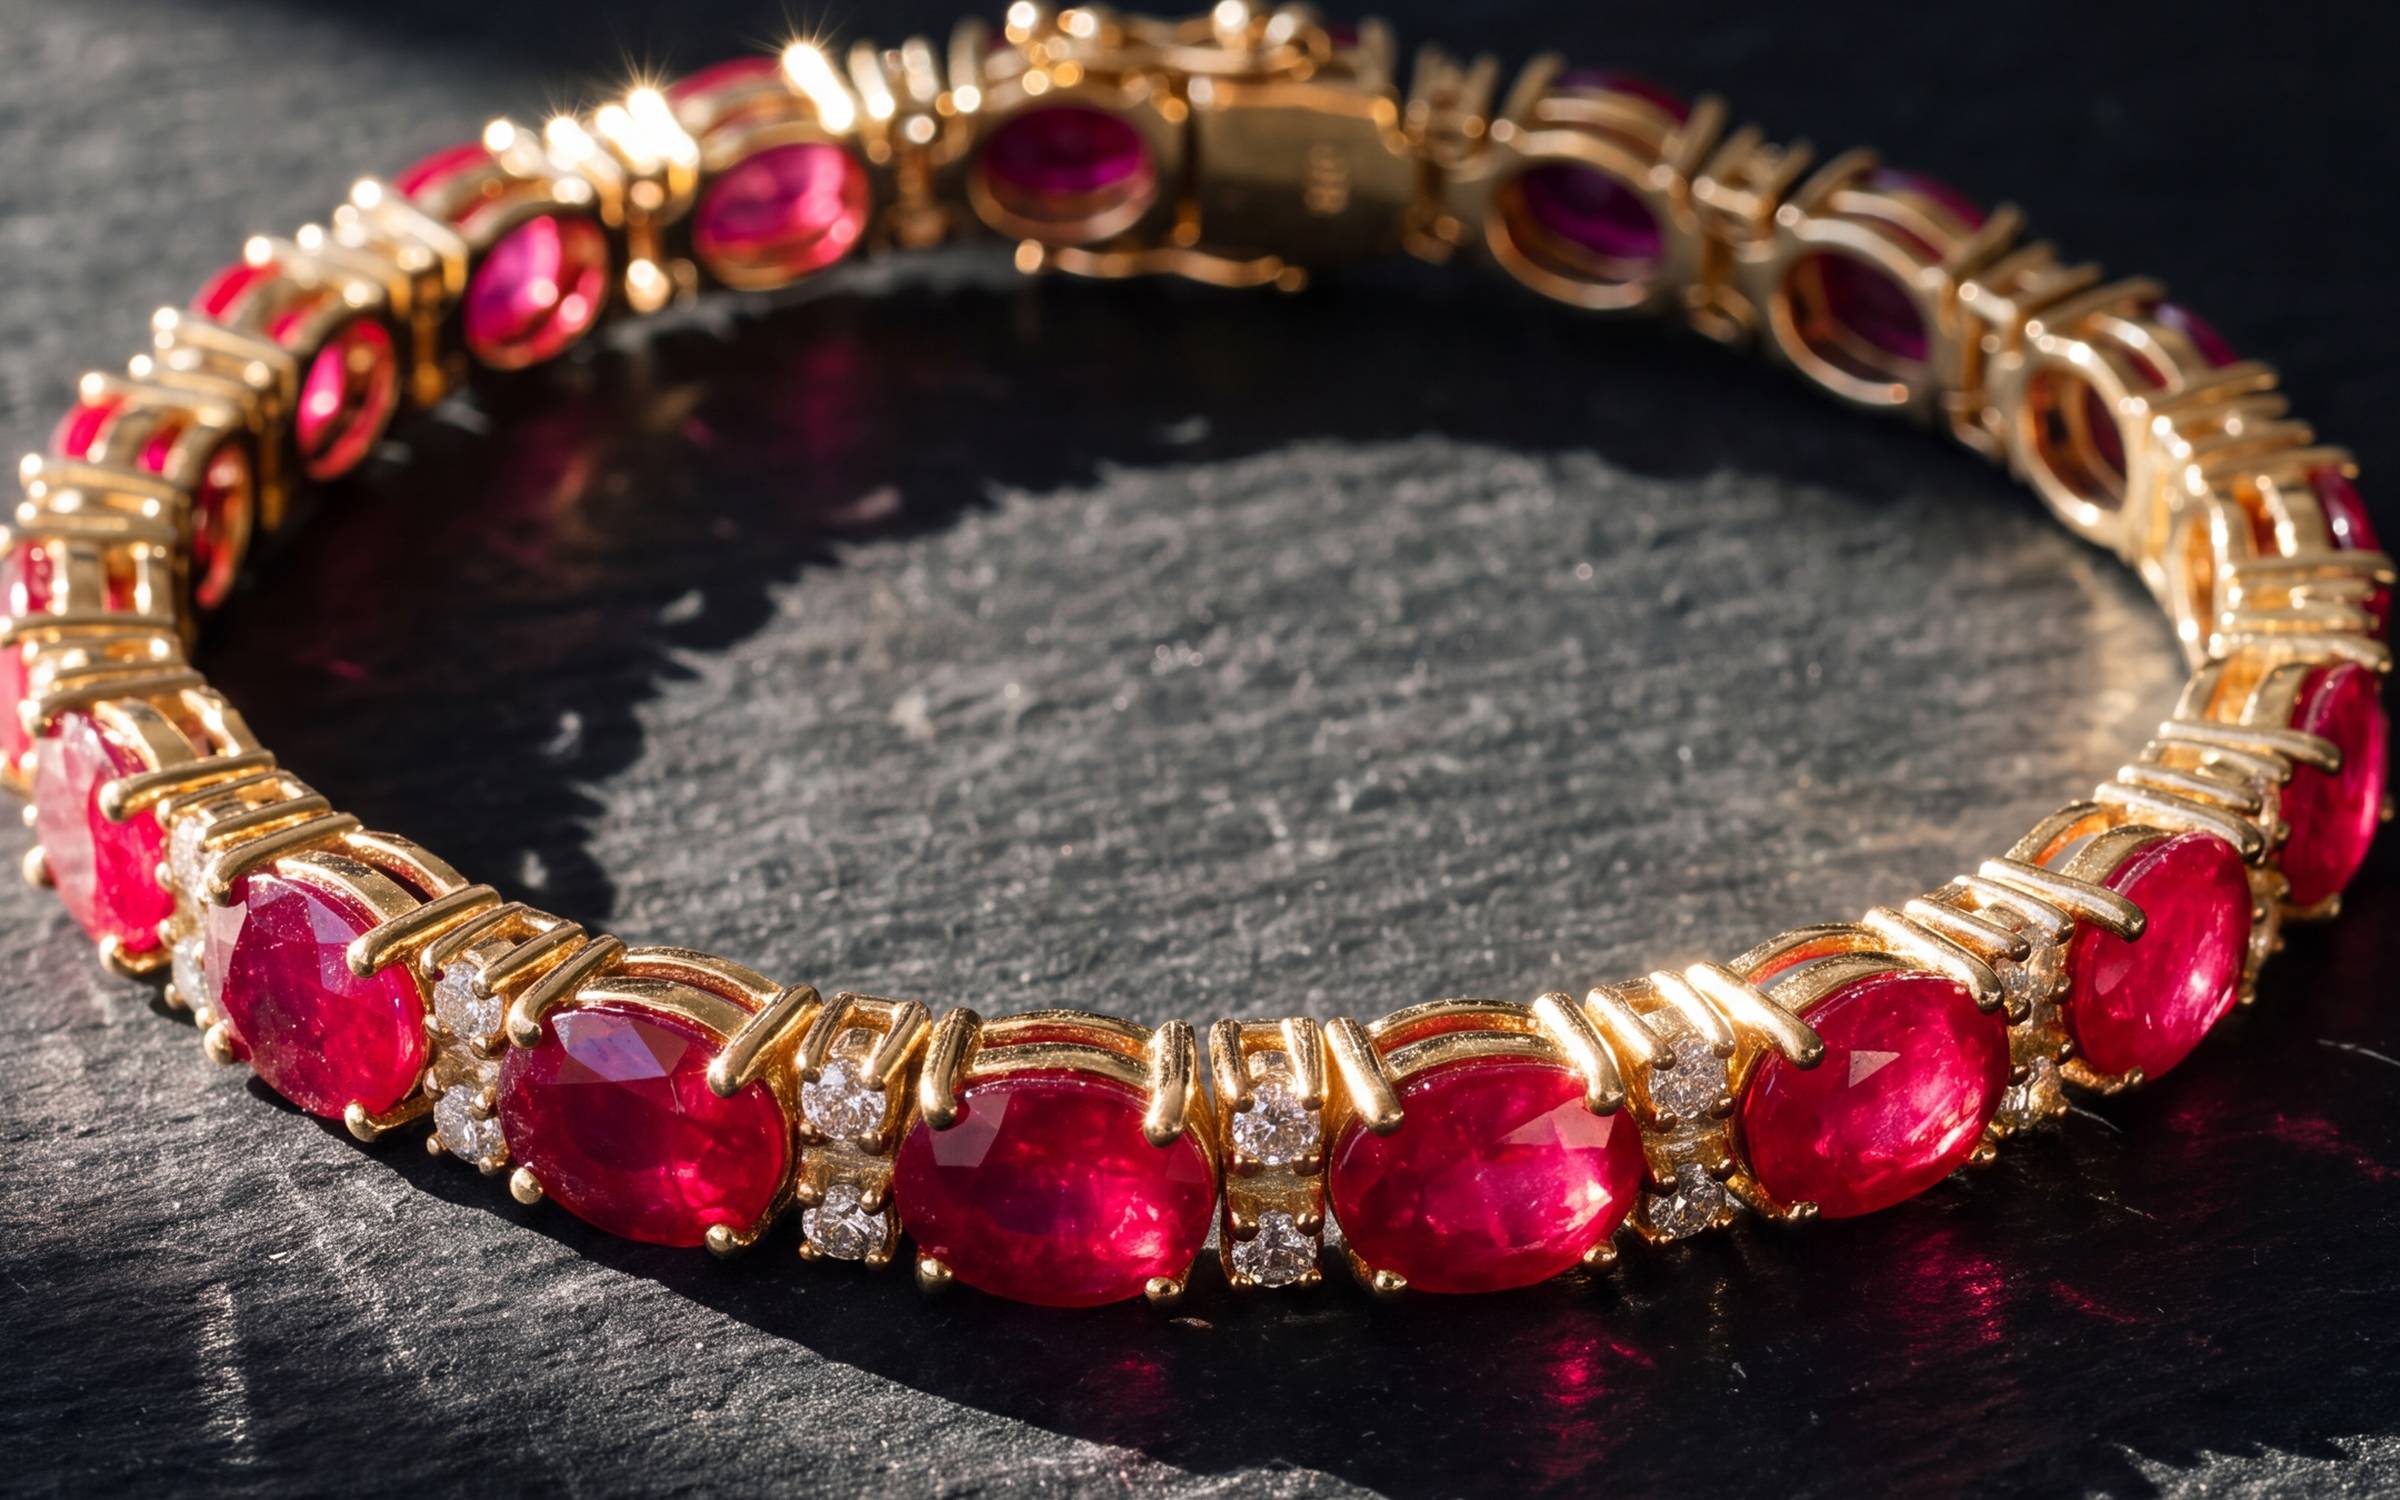
- Bracelets: the full bracelet in a loose oval, a close-up of the links or stones, and the clasp.
- Watches: the dial straight on with the hands at ten past ten, the side of the watch, the clasp and the caseback.
Then add a scale shot. For rings that is on a hand, for earrings an ear, for necklaces a neck. The scale shot is the photo that answers the question every online shopper has, which is how big is it really. If you do not have a model, a photo with a coin or a ruler next to the piece is better than nothing, and eBay suggests exactly that.
Mistakes that cost sales
- Flash. The built-in flash flattens the piece and puts a hot white spot in every stone.
- Busy backgrounds. Velvet trays, wood grain and patterned fabric compete with the piece.
- The piece too small in the frame. Shoppers zoom, and a small piece in a big empty frame falls apart at zoom.
- Different light for different pieces. A catalog shot on Tuesday by the window and one on Friday under the store lights look like two different stores.
- Shooting through display glass. Reflections and a green tint. Take the piece out.
- Filters. Any preset that changes contrast or warmth changes the color of the metal and stones. Do not use them on product photos.
From the photo you have to a listing photo
The method above gets you an honest, sharp photo. It does not get you a studio photograph, with a grounded shadow, consistent framing and the piece on a model. That used to mean a photographer at $25 to $80 per photo. Our guide to jewelry product photography pricing covers what that costs at scale.
Aurix takes the photos you just shot, or ones you already have, and makes catalog and worn photos of the same piece. The stone, metal color and setting are held to your photo, and you review every result next to the original before you use it. For a store, the results publish to Shopify or Wix once you approve them. For an Etsy or eBay seller, you download the new photo and add it to your listing like any other photo, with no store connection needed. See the Photo Studio page for Etsy and eBay sellers for how that works, and jewelry photography backgrounds for choosing a look.
Try it on your own photos
Try 10 photos free, no card needed, at app.getaurix.ai. After that, plans start at $99 a month: Starter $99, Growth $199 and Scale $399, month to month. If you'd rather see it first, book a 20-minute walkthrough. We run it on sample pieces.
Questions jewelers ask
Can you take good jewelry photos with a phone?
Yes, for listing photos. A recent phone, daylight from a window, a plain background and a steady hand or small tripod will get you a sharp, true-color photo of the piece. What a phone struggles with is consistency across a whole catalog and the clean studio look, which is where editing or a tool like Aurix comes in.
What is the best background for jewelry photos on a phone?
A plain, matte, mid-tone surface. White foam board works for marketplaces that want white. A light grey card is more forgiving for white metal and diamonds because the piece does not blow out against it. Avoid busy fabric, glossy black and anything with a strong color that reflects into the metal.
Should I use portrait mode for jewelry?
Usually not. Portrait mode guesses where the edges of the piece are and often blurs prongs, chain links and the edge of a stone. Shoot in the normal photo mode, get close enough to fill the frame, and let the real lens do the work.
Why does my white gold look yellow in photos?
Your phone picked a warm white balance from the room light. Shoot near a window with the room lights off, or tap the subject and adjust the exposure, and check the metal against the piece in your hand before you upload. Mixed light, such as daylight plus a warm lamp, is the usual cause.
Can Aurix make listing photos from the photos I already have?
Yes. Upload up to 5 photos of a piece, pick a Style, and Aurix returns catalog and worn photos of that same piece. It keeps the stone, metal color and setting as they are and changes the light and background around them. Your first 10 photos are free, no card.